Shop

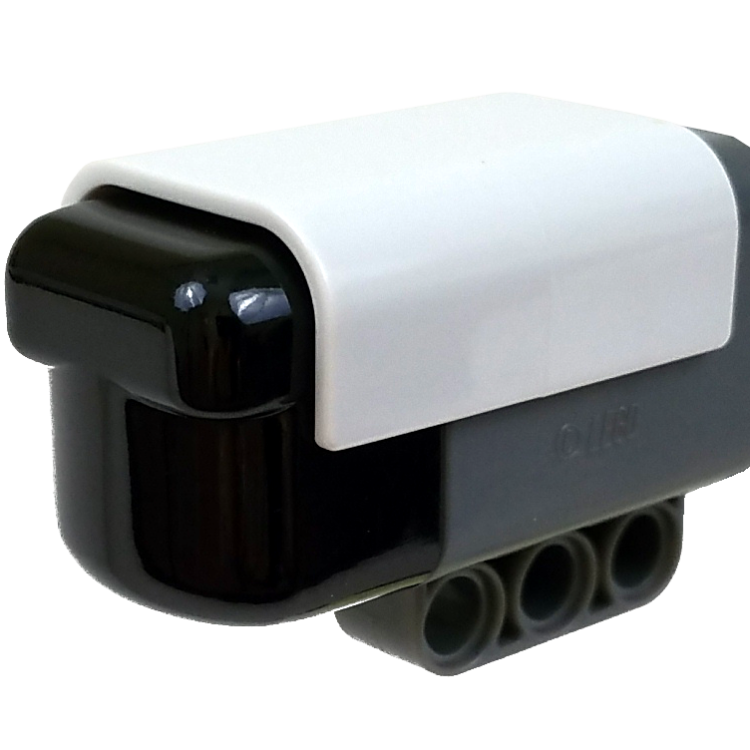
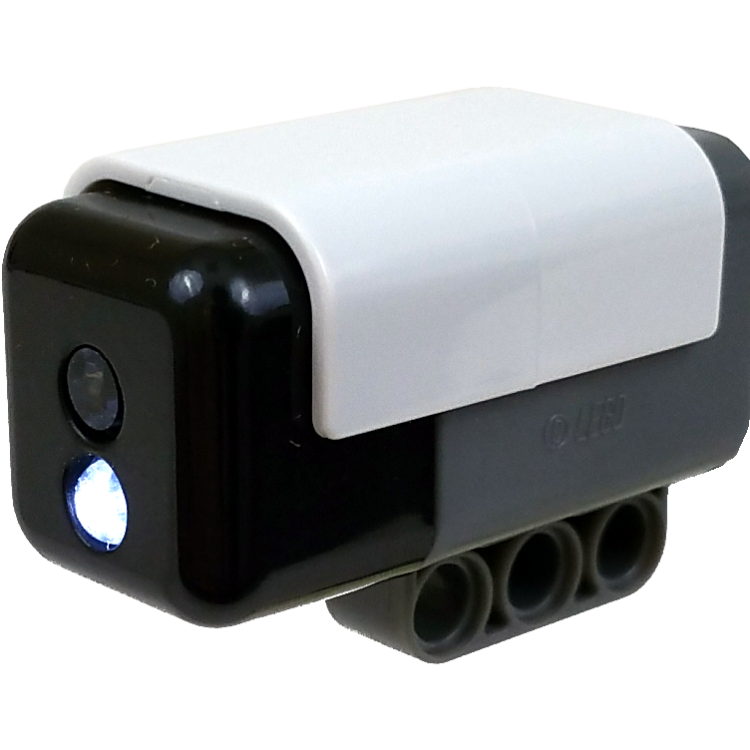
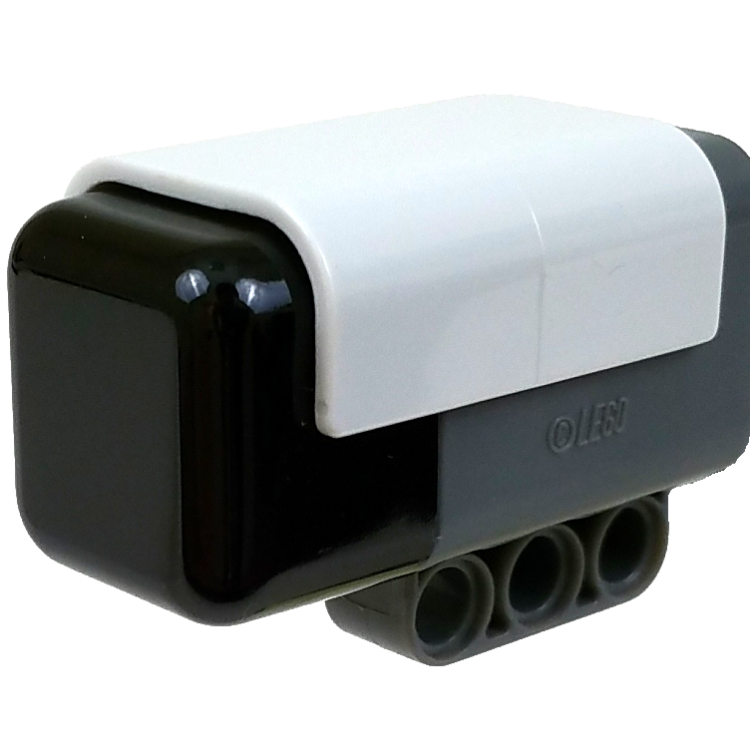
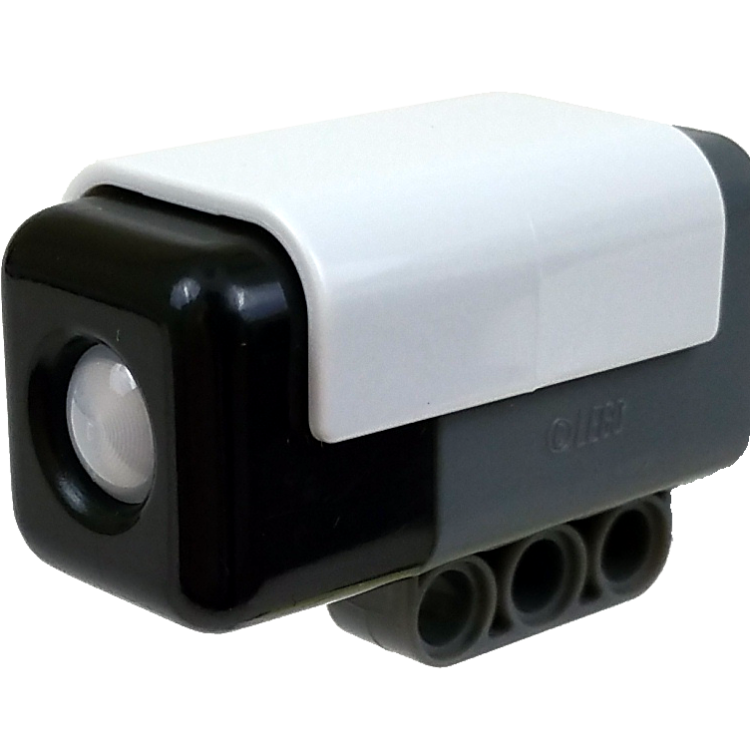
HiTechnic NXT Magnetic Sensor
$22.95
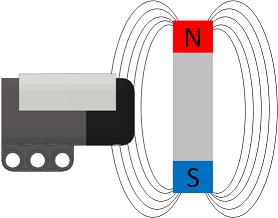
The NXT Magnetic Sensor will enable you to build robots that can detect magnetic fields. The sensor detects magnetic fields that are present around the front of the sensor in a vertical orientation.
Note: This is a special introductory price in our support for the FTC Challenge. The price will go up after the FTC Challenge season is over.
Out of stock
Description

Additional information
| Weight | .0560 lbs |
|---|---|
| Dimensions | 6 × 5 × 1.5 in |
Robot C
The RobotC driver suite supports HiTechnic products for RobotC 4.x and RobotC 3.x. Select the corresponding repository at the link below and download the zip file.
Downloads
No downloads found!